Accessibilty Checker
Miss Jensen explains how Microsoft Accessibility Checker has been used in our Academy to make learning more accessible.
Microsoft Accessibility Checker is a useful tool for any teacher, but also beyond the classroom, to ensure resources and teaching is more accessible to those with disabilities. It wasn’t until I became a teacher that I discovered the vast unseen disabilities that can be found in a single classroom. It is easy to look at a document and assume anyone can access its content just because you can, but using the Accessibility Checker tool opens your eyes to issues you might not have thought about previously.
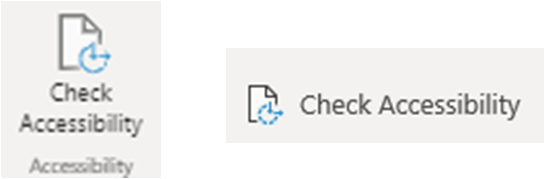
Accessibility Checker can be located across a range of Microsoft Office programs, under the 'view' or 'review' tab depending on which program you are using:
Using the Accessibility Checker in real-time, or after I have created a resource, allows me to make quick and easy adaptations to my resources and teaching to make it easier for my pupils to access. Although the Accessibility Checker tool cannot detect every issue, it can detect and provide suggestions for most accessibility issues, which is always an improvement.
When using the tool it gives warnings and errors. Warnings are when the issue is for most, but not necessarily in all cases, difficult for people of disability. Errors tell you of an issue that is very difficult or impossible for someone with a disability to use, this is what you particularly want to look out for.
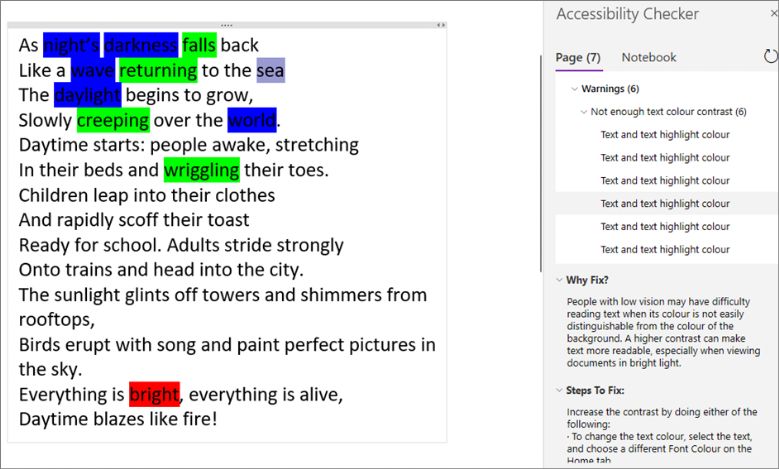
Example of an error:
When using Excel, don’t use red-only formatting for negative numbers (100 is red rather than -100) as a person who has difficulty distinguishing colour won’t be able to tell the difference between positive and negative numbers. This can be applied to a range of situations.
Let’s face it most of us teachers love to colour code!
The Accessibility Checker tool has made me more aware of accessibility issues and made me rethink how I teach, even when not using technology.
For example:
Through talking to my class about my training I discovered a child who was colour-blind and hadn’t realised. They found it difficult to distinguish between certain colours used during my modelling and lesson tasks such as highlighting a text. Now when we highlight a text with various colours I encourage the children to use the colours they choose rather than assigning them colours.
Where I may have highlighted or written a verb in green and an adjective in red, I particularly avoid red and green as these are difficult to distinguish if you have this form of colour-blindness. A simple tweak, but important to allow my pupils greater access to their learning. A simple web search will come up with percentages of disabilities, but regardless having just one child struggle to access their work when there is a simple fix available, is one too many!
We have access to the Accessibility Checker tool in our online versions of Microsoft Office and our desktop version. The desktop I find is better as it has a wider range of errors and warnings that it checks for.
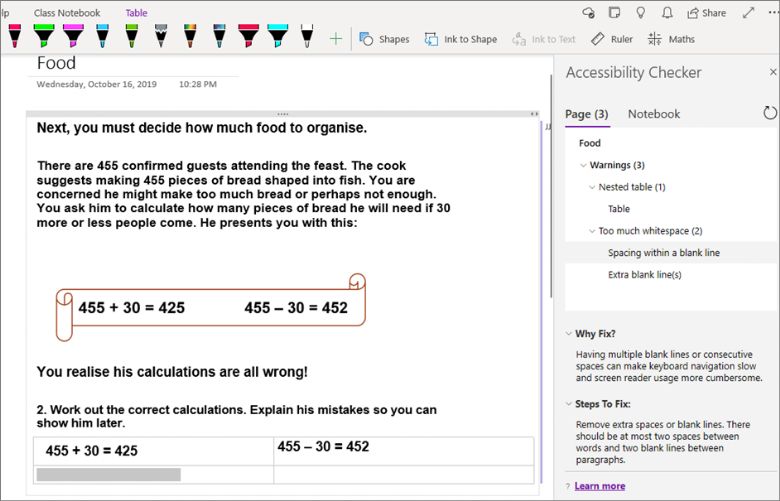
Not all errors and warnings are relevant or need to be fully rectified when you’re creating a task or modelling, but the tool does keep you mindful.
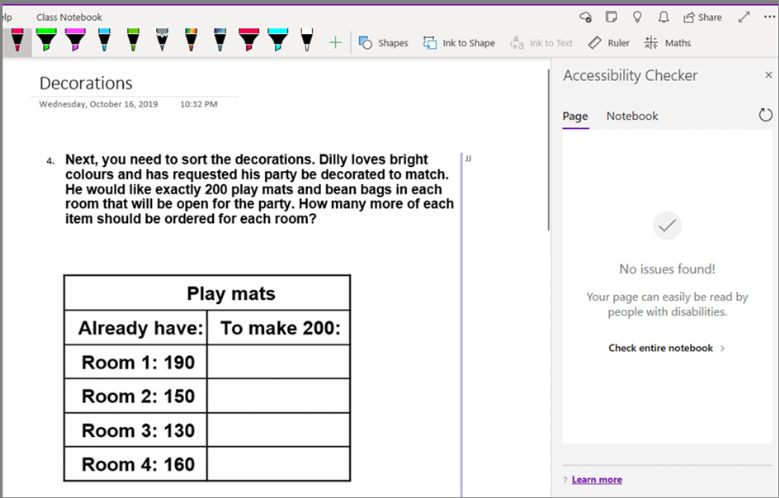
Here the warning is for the extra cells:
However, it is necessary for the task, as it is the area for the pupil to write their answer, in another situation I might remove them as advised.
Tips are also available through the Accessibility checker tool, which gives advice more on organisation and presentation, that while a person with disabilities might be able to access, the changes would make it easier and improve their experience.
It is very satisfying to see this!